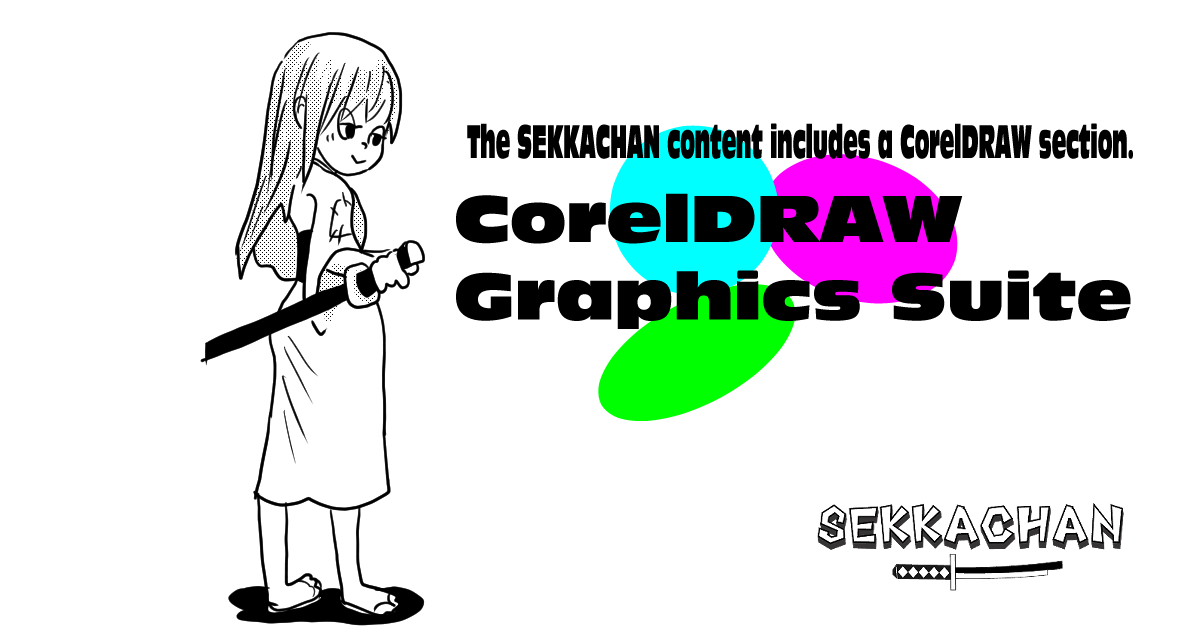
Splash effects are a perfect match for SEKKACHAN’s samurai-inspired world.
Whether it’s for action scenes or dramatic highlights, these dynamic visuals can be created easily and beautifully using CorelDRAW’s vector tools.
In this tutorial, we’ll walk you through how to make clean, bold splash graphics—perfect even for beginners.
From social media designs to presentation slides and illustration backgrounds, this quick technique will add instant impact to your creative work!
Introduction
A splash effect refers to the look of paint, water, or other liquid being scattered or splattered.
It’s often used in graphics to add impact, energy, and a strong visual atmosphere.
These days, more and more people are generating background images using AI or relying on free resources —
but that comes with its own concerns:
- Worrying about copyright
- The risk of looking like a copy of someone else’s work
- Feeling uneasy about tracing over reference images
When that happens… why not create your own original splash using CorelDRAW?
In this tutorial, we’ll show you how to make a simple splash graphic that’s easy for anyone to create and flexible enough to use in many different ways.
Sorcenext | CorelDRAW Graphics Suite 2025 (最新版)
Workflow
- Draw the base shape for the splash
- Use the Distort Tool (Attract and Repel) to transform it into a splash
- Add scattered droplets and decorations to finish it up
 ライカちゃん
I’ll try doing it just with the Attract and Repel tool!
Preparing CorelDRAW

- Version used: CorelDRAW Graphics Suite 2023
(Other recent versions should work just fine.) - Document size: Any size is fine
(Example: 1200×630 pixels)
Draw the Base Shape for the Splash

 セッカちゃん
We’ll shape it with the transformation tool later, so a rough outline is totally fine.
Draw a shape in the center of the canvas, or anywhere that’s easy for you to work with.
Recommended drawing tools:
- Freehand Tool
- Polyline Tool
Make sure to draw a closed shape, so you can fill it with color later.
Tip:
If you use straight lines or polylines, you can still edit the shape later by selecting
Object → Convert to Curves.

- From the toolbar, choose the Shape Tool group, then select the Attract/Repel Tool to start shaping your splash.
◾What Is the Attract/Repel Tool?

- Attract: Pulls selected points toward the center of the cursor.
- Repel: Pushes selected points outward from the cursor center.
◾ Adjustable Settings

- Toggle Between Attract and Repel: Use the icon to switch modes.
- Brush Size: Adjust with up/down arrow keys or type a number directly.
- Rate: Controls the strength of the effect (range: 1–100).
- Pressure Sensitivity: If using a pen tablet, pressure input is supported.
Tip: Move the points inward and outward gradually to simulate a fluid, dynamic splash.

Advanced Arrangement

- Try stacking multiple splash shapes to create complex, layered visuals.
- Since it’s vector-based, export the splash as SVG format and import it into animation software.

 セッカちゃん
Since it’s a lightweight GIF, I hope the splash effect still comes through!
The article was not found.


Comments